How to Winterize an RV:
Expert Tips and Best Winterization Practices
Winterizing your RV is a crucial step to protect it from harsh winter weather. Proper RV winterization helps prevent damage caused by freezing temperatures, keeping vital systems safe and your RV in top condition. Taking the right precautions now can save you from expensive repairs later and significantly extend the lifespan of your RV.
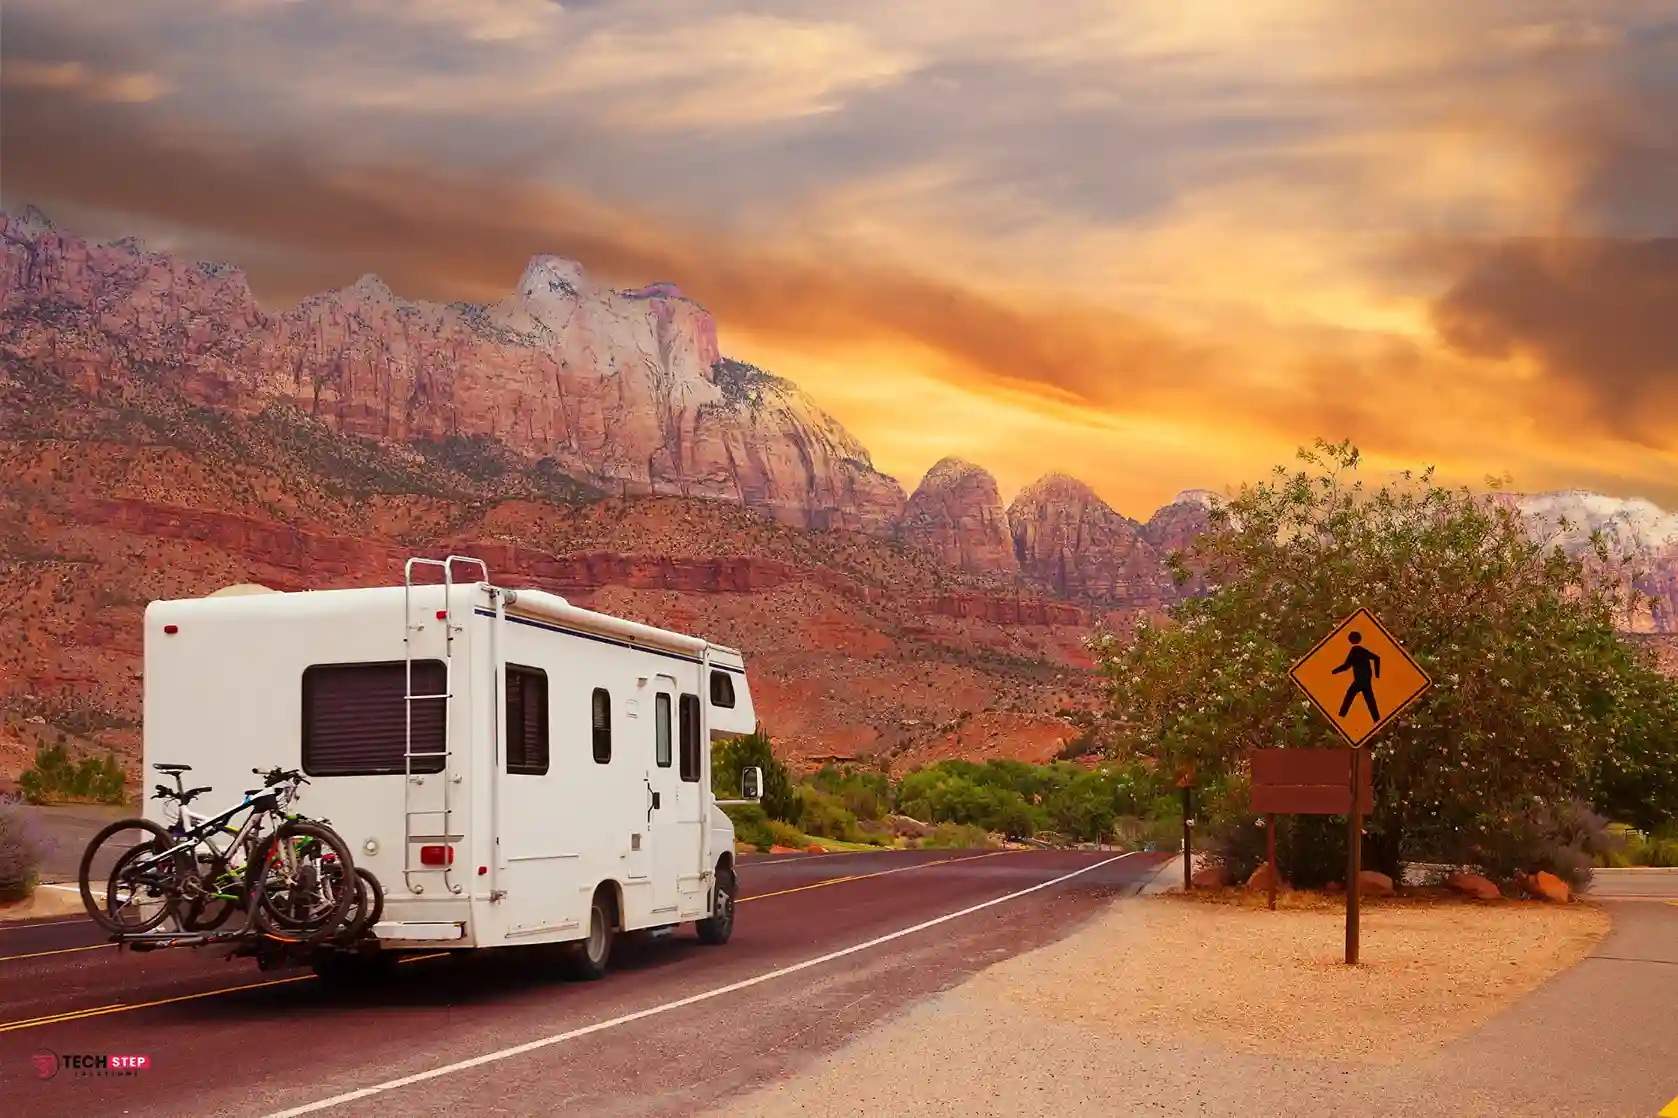
Storing your RV during winter also comes with major benefits, such as protection from the elements and preservation of its long-term value. Midland East RV Park offers a secure and convenient winter storage solution, giving you peace of mind throughout the colder months. With easy access to your RV, you can ensure it’s fully winterized and ready to hit the road when adventure calls again.
“An ounce of prevention is worth a pound of cure.”( Benjamin Franklin)
The Importance of Winterizing Your RV
: Why Proper Preparation Matters
Tips to Prevent Damage from Freezing Temperatures
Winterizing your RV is essential for many reasons. First and foremost, proper RV winterization helps prevent damage from freezing temperatures. When water inside your RV’s pipes and tanks freezes, it can expand and cause cracks, resulting in costly repairs.
Protect Water Lines and Holding Tanks
A key part of RV winterization is protecting your water lines and holding tanks. Freezing water can solidify, clogging your plumbing system and making it difficult to use your RV once spring arrives. By properly winterizing your RV, you can prevent damage, keep your plumbing intact, and ensure your RV is ready for your next adventure.
Maintain Your RV’s Value and Condition
Maintaining the integrity of your RV during winter storage is essential. A properly winterized RV preserves its value and stays in excellent condition, ensuring it’s ready for your next adventure. Winterization also helps prevent mold and mildew by removing moisture that can accumulate in damp environments, keeping your RV clean, safe, and well-maintained.
Step-by-Step Guide to Winterizing Your RV
Winterizing your RV involves several vital steps to ensure it remains in excellent condition throughout winter months. Follow this comprehensive guide to protect your RV effectively.
1. Drain Freshwater and Wastewater Tanks
Begin by draining the freshwater, gray water, and black water tanks. Open all faucets, including the kitchen sink, to ensure complete drainage. This step removes any residual water that could freeze and cause damage.
2. Blow Out Water Lines
Use an air compressor to remove water from the water lines. Connect the compressor to the pressure relief valve and run air through the system. Winterizing rv water pump ensures no residual water remains, preventing frozen pipes and leaks.
3. Add RV Antifreeze to the Plumbing System
Pour RV antifreeze into the system to prevent freezing. Ensure antifreeze reaches all low-point drain plugs and the water heater’s heating element. For travel trailer winterization, follow similar steps to protect all plumbing components from freezing temperatures.
Seal Windows and Doors
Inspect and seal any gaps around windows and doors to prevent cold air from entering. Use appropriate sealants to ensure no moisture enters the RV, maintaining a dry and secure interior.
Protect the Exterior
Apply protective covers to the exterior walls to shield against snow and ice. Cover tires and secure loose items to prevent damage from snow and ice buildup. An easy way to winterize rv includes using high-quality covers and securing all exterior components to maintain the RV’s appearance and functionality.
Essential Tools and to Supplies Needed for Winterizing Your RV
Having the right tools and supplies is critical for adequate rv winterization. Gather the following items to ensure a smooth winterization process.
List of Necessary Tools
RV Pink Antifreeze
Air Compressor
Towels and Buckets
Screwdriver and Socket Wrench
Cleaning Wand
Additional Supplies
Drain Hose
Anode Rod Removal Tool
Owner's Manual for instructions.
These tools and supplies make the winterization process more efficient and help you avoid missing critical steps. Proper preparation is vital to a successful winterization, ensuring your RV remains in excellent condition.
Properly Storing Your RV for Winter
Choosing the right storage location is essential for protecting your RV during the winter months. Here’s how to store your RV effectively while ensuring its safety and longevity.
Selecting the Ideal Storage Location
When determining how to store your RV for winter, it’s essential to focus on proper storage practices. Clean and inspect your RV thoroughly, cover it with an RV-specific cover, and consider disconnecting batteries to prevent damage.
Properly preparing your RV before storage ensures it remains in top condition for your next adventure. Maintaining these best practices for RV storage will keep it safe from the elements and ready for your next trip.
Maintenance During Winter Storage
While your RV is in storage, regular maintenance is crucial:
Regularly check for any issues with the water pump and other systems.
Keep the control panel dry and moisture-free to prevent electrical issues and mold growth.
Preparation Steps for Winter Storage
Before storing your RV, follow these preparation steps to ensure it remains in excellent condition:
Ensure the tank-flushing system is properly winterized.
Use low-point drain plugs and secure all termination valves.
.
What Happens if You Don't Winterize Your RV?
Neglecting to winterize your RV can lead to severe consequences. Frozen water can cause pipes to burst, resulting in costly repairs. Moisture trapped inside can lead to mold and mildew growth, damaging your RV’s interior and making it an unhealthy living space.
Damage extends to holding tanks and the water heater’s heating element, reducing the lifespan of these essential components. Without winterization, your RV’s systems are vulnerable, making future winterizing rv efforts more challenging and expensive. Protect your RV by following proper winterization steps to avoid these issues and ensure your RV remains in excellent condition.
Tips for a Successful Winterization Process
Follow these tips to ensure your winterizing rv process is smooth and effective.
Start Early Begin winterizing an rv camper before the first frost arrives to avoid last-minute rushes and ensure all steps are completed thoroughly.
Follow the Checklist Follow to a comprehensive winterize motorhome checklist to ensure no steps are missed, covering all aspects of travel trailer winterization.
Consult the Owner’s Manual Refer to your RV’s owner’s manual for specific instructions and recommendations tailored to your RV model, ensuring you address all unique features.
Regular Maintenance Periodically check your RV during winter storage to ensure all systems remain protected and no issues arise with the water pump or other components.
Seek Professional Help if Needed If you need more time to decide, consider hiring a professional for winterizing motorhome to ensure thorough protection and peace of mind.
These tips help make the winterization process more manageable, protecting your RV from the harsh winter elements and ensuring it’s ready for your next adventure.
It’s best to bypass the water heater's heating element and pour antifreeze directly into the plumbing system to avoid damage.
Ensure Your RV is Ready for Winter
Proper winterizing rv is essential to protect your investment and ensure it remains in excellent condition for future use. By following a detailed winterize motorhome checklist and Rv camping tips you can prevent costly repairs and maintain the functionality of your RV during the winter months.
Remember, winterizing RV is not just about protection but also about preparation for enjoyable travels ahead. Midland East RV Park is a great option for those looking for a reliable and secure place. With these expert tips and best practices, your RV will be well-prepared to brave the winter weather and await your next adventure.


 .
.