Get your RV ready for camping! Follow our easy dewinterization guide for a smooth start to the season.
Knowing how to dewinterize an RV helps you prepare your vehicle for camping after winter storage. The procedure includes flushing the antifreeze, sanitizing the freshwater system, restoring the water heater, and inspecting essential components for damage.
Whether you're dewinterizing a camper, travel trailer, motorhome, or camper van, proper preparation helps prevent plumbing issues and unexpected repairs. This RV dewinterizing guide includes the supplies, practical steps, and safety checks required ahead of your first trip.
RV dewinterization is the procedure of restoring a recreational vehicle's plumbing, appliances, and safety systems following winter storage. It reverses protective winterizing procedures so the vehicle can function normally.
Complete RV dewinterization involves removing antifreeze, restoring water flow, checking equipment, and inspecting winter-related damage. These tasks assist with RV winter storage recovery and help safeguard important components ahead of camping season.
Before beginning RV maintenance after winter, gather:
Select a level parking area that has clean water access and approved drainage facilities. Shut off the water heater and release plumbing pressure prior to opening the drains.Having the necessary supplies makes de-winterizing your camper easier and safer.
The steps to dewinterize an RV involve flushing antifreeze, restoring plumbing, and inspecting equipment. Follow your manufacturer's instructions because components and winterization methods vary by model.
Check roof seals, windows, vents, wiring, and plumbing for leaks or damage. Add RV ventilation system cleaning by removing dust from accessible vents and checking air filters.
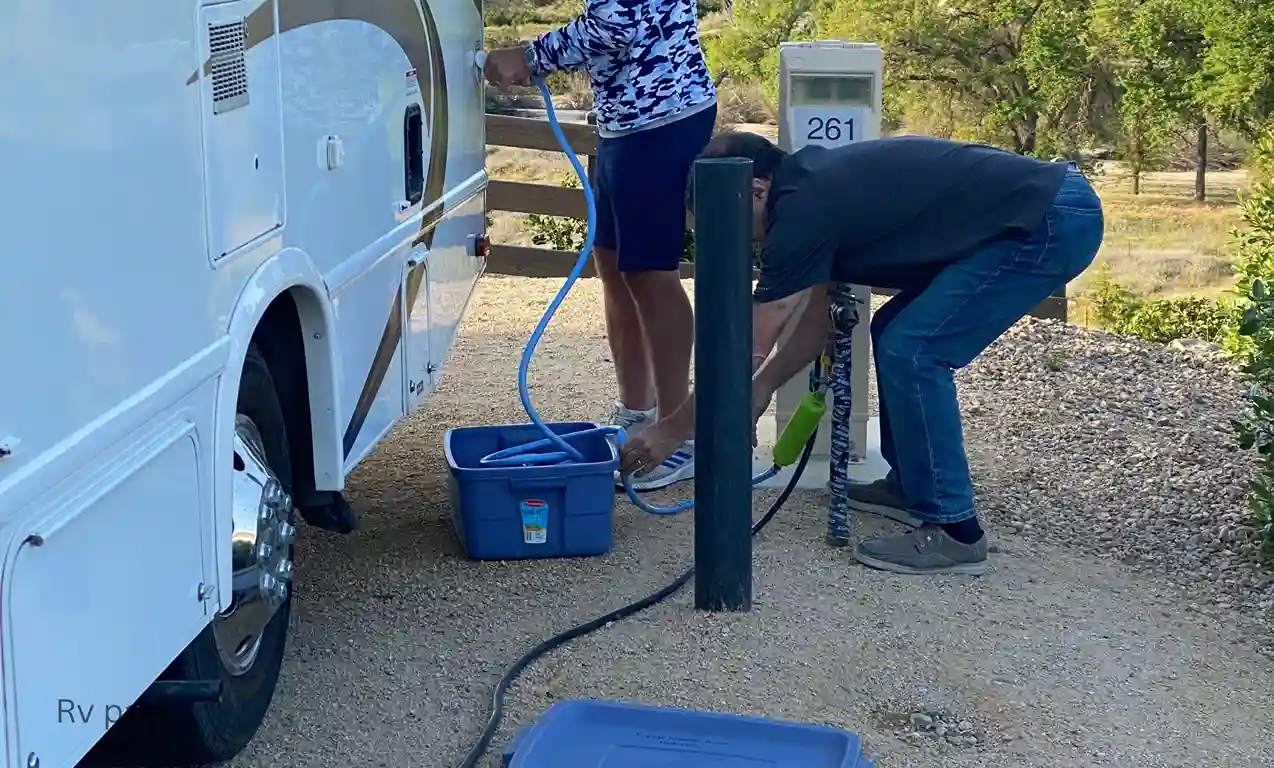
Dewinterizing the RV water system starts with removing antifreeze from the supply lines. Keep the water heater bypassed if previously bypassed, close low-point drains, and connect a regulated water supply or use the onboard pump. Run faucets, showers, and the toilet until the pink antifreeze is gone.
RV drinking water sanitization helps reduce contamination after storage.Employ an approved sanitizer or follow your manufacturer’s bleach procedure, which may call for ¼ cup of plain, unscented household bleach per 15 gallons of tank capacity. Dilute the solution, circulate it through appropriate lines, observe the required contact time, and rinse thoroughly.
When dewinterizing the RV hot water heater, inspect the drain plug or anode rod while the unit is off and cool. After flushing antifreeze, return bypass valves to their normal positions and fill the tank until water flows steadily from a hot faucet. Never run a tank-style heater while it is empty.
Dewinterizing the RV water pump involves restoring pressure and checking for leaks. Fill the freshwater tank, disconnect city water, and turn on the pump. Inspect accessible plumbing connections. Repeated cycling with all faucets closed may point to a pressure problem.
An RV spring system inspection includes checking batteries, lights, appliances, and safety detectors. Test installed equipment in line with its operating instructions. Inspect visible propane components and let a qualified technician handle suspected gas leaks or electrical faults.
Inspect gray and black tank valves, seals, and sewer connections. Follow manufacturer recommendations for holding-tank treatments and refill sink and shower P-traps to help prevent odors.
Finish your RV after-winter maintenance by checking tires, brakes, lights, and roof seals. On trailers, check the hitch, safety chains, and breakaway system.Whether you dewinterize your RV for spring or prepare for summer camping, complete these inspections before departure.
Avoiding common mistakes during dewinterization helps reduce plumbing damage, water contamination, and unexpected repairs.
Keeping bypass valves in the wrong position can stop the heater from filling.Verify the settings and confirm the tank is full before turning it on.
Flush RV antifreeze from supply lines before sanitizing. Never combine cleaning chemicals, and follow product dilution and safety instructions.
Inspect beneath sinks, around toilets, and near the water pump for moisture. Inspect accessible fittings after pressurizing the plumbing to identify hidden leaks.
Replace water filters according to manufacturer guidelines. Inspect battery connections, safety detectors, and fire extinguishers before traveling.
Certain plumbing issues may show up after restoring your vehicle's water supply. Below are common problems and their solutions:
Addressing these issues early helps maintain reliable water flow and prevent problems during camping.
Avoiding common mistakes during dewinterization helps reduce plumbing damage, water contamination, and unexpected repairs.
Keeping bypass valves in the wrong position can stop the heater from filling.Verify the settings and confirm the tank is full before turning it on.
Flush RV antifreeze from supply lines before sanitizing. Never combine cleaning chemicals, and follow product dilution and safety instructions.
Inspect beneath sinks, around toilets, and near the water pump for moisture. Inspect accessible fittings after pressurizing the plumbing to identify hidden leaks.
Replace water filters according to manufacturer guidelines. Inspect battery connections, safety detectors, and fire extinguishers before traveling.
A dewinterizing RV checklist helps ensure that essential tasks are done before traveling. Use these key points for RV camping season preparation:
Following this checklist helps identify overlooked maintenance issues before your first camping trip.
Responsible disposal is a key part of seasonal RV maintenance.Water flushed from plumbing may contain antifreeze residue or sanitizing chemicals and should be handled according to local regulations.
Proper disposal helps complete spring preparation while reducing environmental risks.
Identify whether your plumbing was winterized with antifreeze or compressed air. Locate the drain valves, freshwater connections, and bypass controls using the owner's manual before restoring normal operation.
You can perform the work at home, an RV-friendly storage facility, or a campground with suitable water and drainage facilities. A dealership or professional RV dewinterization service is another option.
Begin by reviewing your vehicle's winterization method and the manufacturer's startup instructions. If you need to dewinterize a camper after winter storage, confirm that seasonal precautions have been reversed and the equipment is ready for use.
Begin when freezing temperatures are no longer expected at your storage location or travel destinations. Check weather forecasts before restoring water to plumbing that could freeze again.
Dewinterizing means returning equipment to normal operation after winter storage, including components previously drained, disconnected, or protected against freezing.
Basic preparation often takes two to four hours, depending on vehicle size and condition. Freshwater sanitization may require additional time for the recommended contact period.
Yes. Many owners can complete routine preparation using basic tools and the owner's manual. If you need to dewinterize a camper van, check its manual for hidden drain valves and compact plumbing layouts. Seek professional help for damaged plumbing, electrical faults, or propane problems.
Proper dewinterization helps protect important systems and identify problems before your next trip. Whether you’re unwinterizing a camper or preparing a motorhome, prioritize clean drinking water, functional appliances, and reliable safety equipment.
Once your RV is ready, plan your next camping getaway with Midland East RV Park. Find a convenient place to park, relax, and enjoy your travels. Explore Midland East RV Park and plan your next stay today.
$499 MOVE-IN SPECIAL!
Get your first 2 months for just $499/month.
New reservations only. Offer ends December 31, 2026.